The lighting design of a self build has to be settled by first fix, long before anyone chooses a pendant. Your electrician needs to know which lights are grouped together, how each group is switched or dimmed and where every switch and keypad goes, and in a London house that plan often has to bring light into a basement or a deep, narrow plan as well.
On most self builds the cable is the cheap part of the lighting. What costs money is a plan that does not match how the family lives: a kitchen where the island pendants can only come on with every downlight, or a staircase with a single bright setting that wakes the house at 3am. Each of those is a few metres of cable at first fix, and a redecoration job after it.
Think in scenes, not switches
Go through the drawings room by room and picture the space at different times: a busy breakfast, dinner with friends, a film on a winter evening, a child crossing the landing at night. Good lighting gives each of those moments its own balance, built from several layers.
- Ambient light that fills the room evenly, from a few well placed downlights, a cove or a central fitting.
- Task light exactly where work happens: worktops, the island, a desk, a reading chair, a bathroom mirror.
- Accent light that draws the eye to joinery, artwork, a textured wall or the staircase.
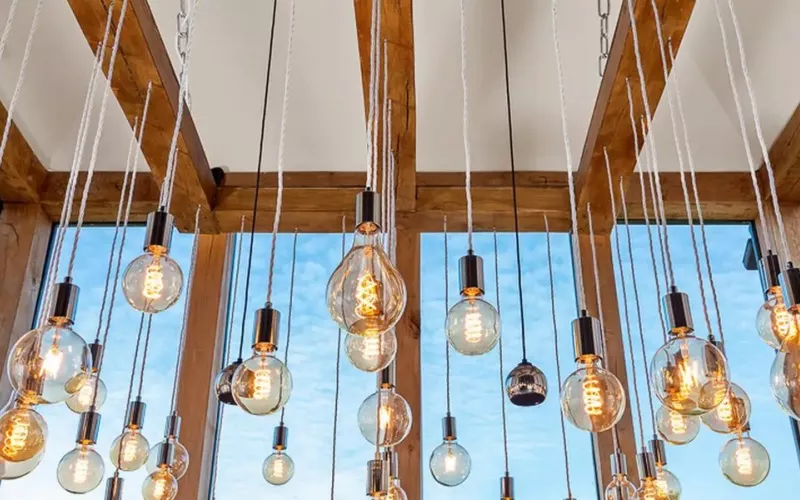
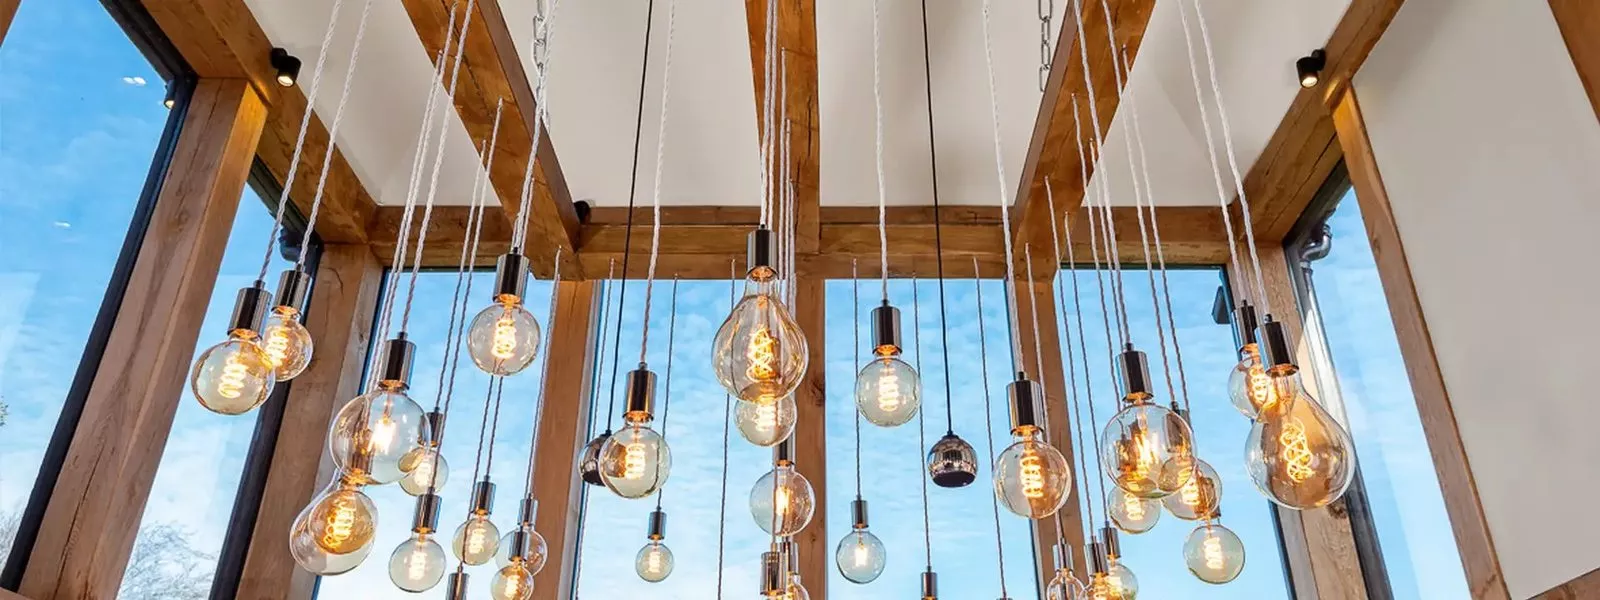
- Feature and night light: the pendants and wall lights you notice, and the step lights, plinth lights and LED strips that let a room glow softly late in the evening.
When the layers are on separate circuits, one keypad button can call up each scene, and nobody needs to remember which switch does what.
Basements, rooflights and deep plans
Many London plots are tight, and that brings its own lighting problems. A basement room gets little or no daylight, so it needs layers that can run brightly through the day without feeling like an office: light washed across the walls, concealed strips in a ceiling coffer, and a daytime scene as well as an evening one. Rooflights over a deep kitchen extension swing from bright to dark in minutes, so dimming matters there, and so do scenes that follow the time of day if you want them. A long, narrow plan needs light in the middle of the house, where daylight from the front and back windows never quite reaches.
Circuits: the lighting design your electrician needs
Every layer that should be controlled on its own needs a circuit of its own. Lights that share a circuit can only ever be on together, and separating them later means lifting floorboards or opening ceilings. A simple method is to colour the drawing by circuit and give each one a plain name, such as "island pendants" or "landing low level". That drawing is what your electrician wires from at first fix and, with lighting control, the list the scenes are built from.
Keypads, switches and the wiring behind them
Put the switch and keypad positions on the same drawing: on the latch side of each door, at the top and foot of every staircase, at both ends of long halls, and beside the bed. In a new home, Approved Document M places switches and sockets for lighting and other equipment between 450 mm and 1,200 mm above the finished floor, so plan keypads within that band too.
An open plan kitchen and family room can easily have six or more circuits, and a bank of six switches is not something anyone wants on a new wall. One engraved keypad with buttons such as "cook", "dine" and "relax" does the same job, which is why many self builders choose lighting control from Lutron, Rako, Crestron or Control4. Before first fix, decide how it will be wired.
- Centrally wired. Each circuit goes back to dimmer modules in a lighting panel, and the keypads are linked to it by a thin data cable. It is the most flexible option and keeps the dimmers out of the walls. Our post on the new Crestron DIN modules covers the latest hardware for lighting panels.
- Dimmers at the switch. Smart dimmers fit where the switches would be, so run a neutral to every switch position and use deep back boxes.
- Wireless. Keypads and dimmers that talk by radio are ideal for a finished home. In a self build the walls are open, so cable for one of the wired options anyway.
Downlights, fire and the airtight layer
Downlights are where lighting design meets the Building Regulations, and LABC, which represents local authority building control teams, publishes a guide to the safe installation of downlighters in dwellings. The points that matter at design stage: a downlight that pierces a ceiling below an insulated roof has to be chosen so the ceiling stays airtight; downlights can affect the fire resistance of a floor, especially one built with engineered joists, so some ceilings need fire rated fittings or other protection; and the current Approved Document L asks for fixed lighting of at least 75 light source lumens per circuit watt. Ask your architect which ceilings have to resist fire, and talk to your building control body about the fittings before the ceilings are boarded.
A service void on the room side of the airtight layer gives cables and fittings somewhere to sit without puncturing it. Agree its depth with your architect and builder so it suits the downlights you have chosen, and use fewer, better placed fittings: they look better and leave fewer holes.
Drivers, dimming and colour
Most LED problems in new houses come down to a mismatch between the fitting, its driver and the dimmer: flicker, buzzing, or lights that will not fade smoothly down to a glow. Settle the dimming method for each circuit before first fix, since a few methods need a separate control cable run with the mains. LED strip and many feature fittings use remote drivers, and those need an access hatch or a removable joinery panel so a driver can be changed in ten years' time without cutting a ceiling.
For most living spaces a warm white of 2,700K to 3,000K feels right, and a colour rendering index of 90 or above keeps food, skin tones and timber looking natural. Keep one colour temperature across an open plan space, so the kitchen end does not look cooler than the sofa end.
Outside: the front, the lightwell and the garden
Plan the outdoor lighting at the same time. At the front that might be the path, the door and the house number; at a basement, the lightwell and its steps; at the back, the terrace, the planting and the garden office. Lay ducts and cables with the groundworks and mark where they end, even if the landscaping comes a year later.
Your lighting checklist before first fix
| What to decide | When | Who needs it |
|---|---|---|
| Layers and fitting positions in each room | With the tender drawings | Architect, electrician |
| Circuit schedule and circuit names | Before first fix | Electrician, lighting control installer |
| Switch and keypad positions and heights | Before first fix | Electrician, kitchen designer, interior designer |
| Centrally wired, dimmers at the switch, or wireless | Before first fix | Electrician, lighting control installer |
| Downlight types, fire rated ceilings and the service void | Before plasterboard goes on the ceilings | Architect, builder, building control |
| LED strip in joinery and where its drivers live | Before the joinery drawings are approved | Kitchen designer, joiner, electrician |
| Outdoor lights, the lightwell and garden ducts | While the trenches are still open | Groundworker, landscape designer, electrician |
| Colour temperature, dimming method and fittings | Before second fix | Electrician, lighting supplier |
How we help
We draw the scheme with you: what each room needs at different times, a numbered circuit schedule, keypad positions and heights, and the cable list for first fix, then we install and programme the system at second fix. 1Install's founder, Kieran McGuire, is himself an electrician, so the drawings come from people who know what happens on site. We design and install lighting control in London and across the Home Counties, and our survey and design service explains each step from drawings to programming. Our first fix wiring checklist for London self builds covers the other cables to run while the walls are open.
Questions we are often asked
When should the lighting be designed in a self build?
Ideally before the electrical tender, so every electrician quotes for the same scheme. At the latest, the circuits and the switch and keypad positions have to be settled before the first cable is pulled.
Is lighting control worth it in a new build?
Not in every room. A small room with one or two circuits works well with ordinary switches. Lighting control earns its place in kitchens, open plan spaces, halls and stairs, where scenes replace banks of switches. If you are unsure, cable for it now and decide at second fix.
Can our electrician wire for a lighting control system?
Yes, and most do. They follow our circuit schedule and cable list, we look over the cabling while the walls are still open, and we fit and programme the keypads, panels and scenes at second fix.
Do downlights affect building control?
They are part of the building work, so the ceilings they sit in must still meet the Building Regulations on fire, sound and energy. Check the fittings with your building control body before the ceilings are boarded, particularly with engineered joists or a ceiling below an insulated roof.
How many downlights does a room need?
Usually fewer than people expect. Placed over worktops, routes through the room and features, they do a job; set out in an even grid, they flatten a room. It depends on the ceiling height, the fittings and the other layers, so we work the number out on your drawings rather than by a rule of thumb.
Warm white or cool white?
Warm white suits almost every living space. Tunable white fittings, which shift from cooler light by day to warmer light in the evening, are worth a look for kitchens, bathrooms and basements, but they may need extra cabling, so decide before first fix.
Book a consultation or call our head office on 01344 937999 (London office 0208 064 0196).
- Log in to post comments