Security wiring is cheap while a London self build is open to the studs and joists, and disruptive once it is plastered and painted. Put every alarm keypad, detector, camera, door entry panel and gate position on the drawings, and pull a cable to each during first fix, even for devices you plan to add in a year or two. Cabled devices are more dependable than wireless ones and keep the front elevation clean.
This guide covers the intruder alarm, cameras, video door entry and gates for a new London home: the cables, their routes and the trades who need to know. Everything meets at the comms rack, so if you have not planned that yet, start with our first fix wiring checklist.
Mark up the drawings before choosing equipment
Take a copy of the plans and mark every way into the house: the front door, garden doors and bifolds, any basement lightwell or door, roof terraces and balconies, a side return or rear access, and the garage. Then think about how the family will really come and go. If everyone uses the side door from the parking space, that is where the main alarm keypad belongs, not the formal front door.
Next, agree what you expect from it. Should the alarm simply message your phone, or report to a monitoring centre? Do you want to check the cameras from your desk at work, and answer the front door while you are away? Brands can wait, because these answers are what decide the cables. Involve your architect too, since bell boxes, cameras and entry panels all appear on the elevations, and if the house is in a conservation area, agree any visible equipment on the front with them early.
Wiring the intruder alarm
The control panel should be inside the protected area and out of reach of a quick grab, never in the porch. A cupboard near the comms rack is ideal, because the panel then needs only a short patch to the network for the app and for monitoring. Your electrician provides an unswitched fused spur for it, and all the alarm cabling is home run to it.
- Keypads by the entrance the family really uses, at the garage or side door, and perhaps one upstairs for setting the alarm at bedtime.
- Detectors covering the routes an intruder would take: halls, landings, the ground floor rooms and the basement. Give every detector its own cable back to the panel; looped wiring saves minutes on site but makes faults slow to trace and stops each detector reporting on its own.
- Contacts on every external door, and on whichever opening windows you want covered.
- Sounders: a bell box on the front elevation, visible from the street, plus one at the rear if the garden can be reached from a lane or a neighbour's side. Cable each one separately.
Doors and windows need particular care. In England, Approved Document Q asks for the easily accessible doors and windows of a new home to resist attack, and they are usually made to a design tested to PAS 24, so ask the supplier for concealed alarm contacts, or frames prepared for them, when you place the order. That way the contacts are part of the product rather than an afterthought.
Cameras: one Cat6 for each
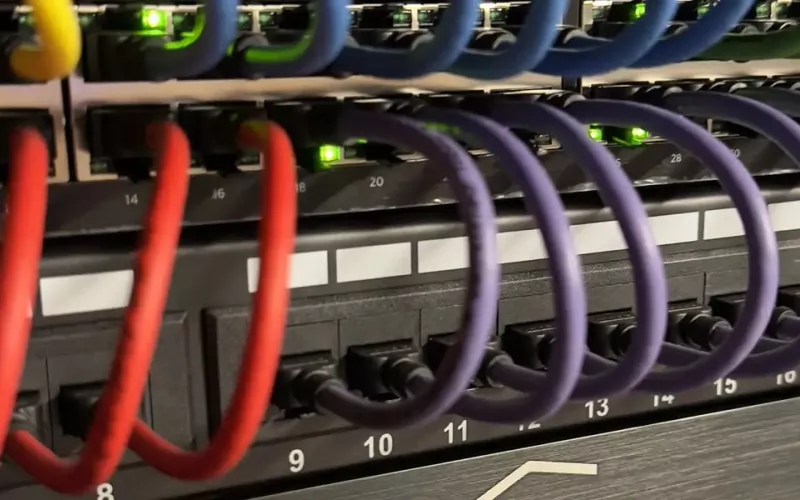
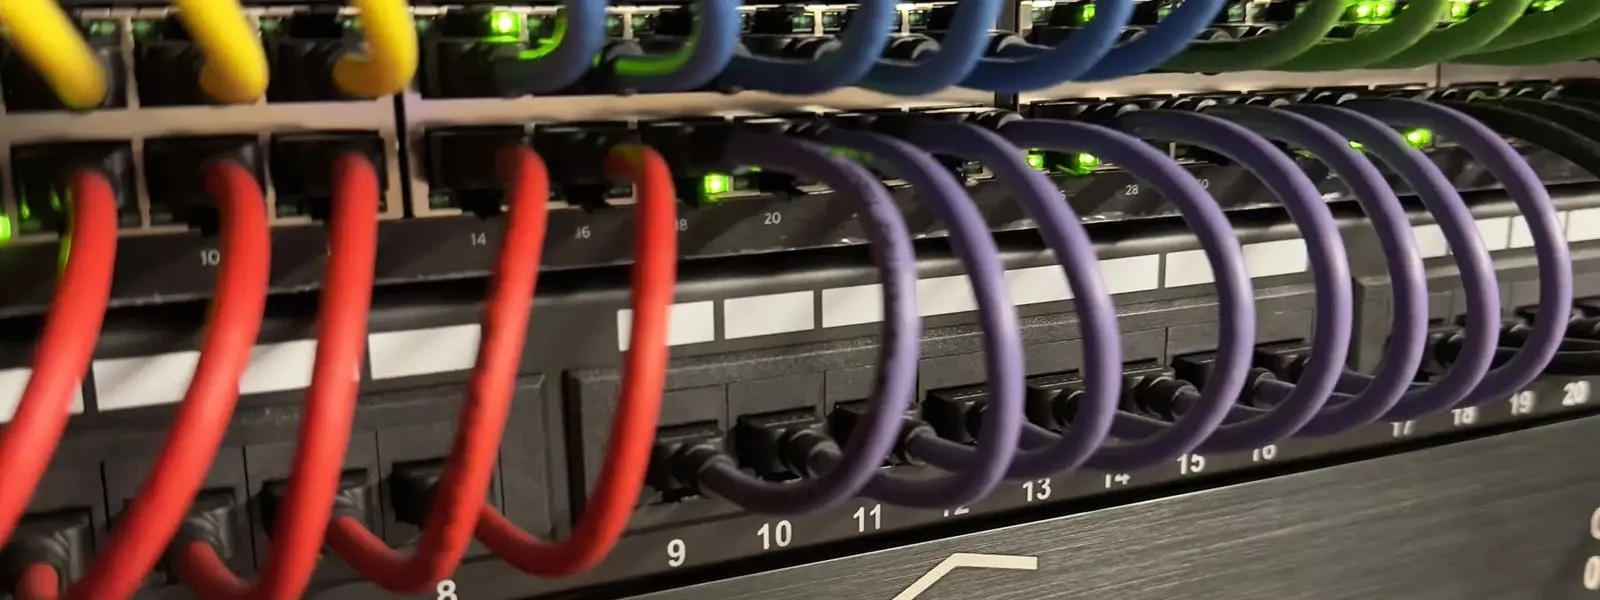
Every camera position needs one Cat6 cable back to the rack, where a Power over Ethernet switch supplies both its data and its power, so there is no outdoor socket to find. Keep the recorder in the rack as well, out of sight, rather than on a shelf by the television where it can be taken. The cameras share the network with everything else, so plan them alongside the Wi-Fi and network.
Mount cameras high enough to be hard to tamper with and low enough to identify a face, and where they can be reached again with a ladder rather than a scaffold. Camera cables usually leave the building through a soffit, a parapet or the wall itself, which means pulling them before the soffits, cladding or render are finished. Put the router, switch and recorder on a small uninterruptible power supply so recording carries on through a brief cut; the alarm keeps going on its own standby battery.
Cameras and the neighbours
London houses sit close together, so camera views need thought. The government's guidance on the use of domestic CCTV explains that if your cameras capture people outside the boundary of your property, for example in a neighbour's home or garden, a shared space or a public area such as the street, data protection law applies to you. Aim cameras at your own path, drive and garden, use privacy masking to blank out the pavement and the windows opposite, and tell your neighbours what you are installing. Video doorbells are covered by the same guidance.
Door entry, gates and parking
Video door entry needs a Cat6 cable at the door, and a decision about how you answer it: a wall screen in the kitchen, the touch panels of a smart home system, or an app on everyone's phone. If there will be a gate, its entry panel needs the same cable, and the gate itself needs power and a control cable in ducts laid from the house while the trenches are open. Lay two ducts with draw strings, keep power and data apart, and if the gate is a long way from the house, ask about fibre or a point to point wireless link.
Smart locks and keyless entry depend on the door. A motorised lock or an electric strike needs a supply at the frame, and a lock built into the door leaf needs a power transfer on the hinge side, which the door maker has to allow for, so tell them before the doors are made. The garage door, side gate and bike store are worth the same thought: a duct and a Cat6 now are far cheaper than lifting the paving later.
Make it part of the smart home
An alarm, cameras and door entry that each have their own app soon become a chore. Joined to home automation, they can share one touch panel: the door entry call can appear on the screen in the kitchen, a camera view can come up when the gate opens, and a single bedtime scene can arm the alarm, turn the lights down and close the blinds. Lighting matters too, because a well lit path and drive deter visitors and give the cameras a clearer picture after dark; our lighting design guide for London self builds covers the outdoor cables. On a luxury new build in Buckinghamshire, we fitted an intruder alarm with a keypad and 1Install bell boxes, exterior lighting on the garage and around the property, and structured cabling so the owners can add a full smart home later.
Your security wiring checklist
| Item | Cable or duct | Settle it | Tell |
|---|---|---|---|
| Alarm control panel | A fused spur (unswitched) and a network cable to the rack | Before first fix | Electrician |
| Keypads and detectors | A dedicated alarm cable from each device to the panel | Before first fix | Electrician |
| Door and window contacts | Alarm cable to each frame that will have a contact | When the doors and windows are ordered | Door and window supplier |
| Bell boxes | Alarm cable to each sounder, sealed where it leaves the house | Before the airtightness membrane is sealed | Architect, builder |
| Cameras | One Cat6 per camera, home run to the rack | Before soffits, cladding or render | Builder, electrician |
| Video door entry | Cat6 to the door, and to each screen inside | Before first fix | Door maker, electrician |
| Gate, garage and bike store | Separate ducts with draw strings for power and data | While the trenches are open | Groundworker, gate installer |
| Comms rack | Power, ventilation and space for the recorder, the PoE switch and a small UPS | At design stage | Architect, electrician |
Who installs what
Your electrician installs and certifies the mains wiring, including the fused spurs for the alarm panel, the gate and any electric locks, as part of the notifiable electrical work on a new house under Part P. We design the security alongside the rest of the house and issue a cable schedule listing each keypad, detector, camera and entry panel; our own team can pull the low voltage cables instead if that is easier. Before plastering we walk the cable runs with your electrician, and at second fix we fit, programme and commission the system and show you how it works. 1Install's founder, Kieran McGuire, is himself an electrician, so the schedules suit the way electricians work. The drawings themselves come from our survey and design service, which covers every system in the house.
Questions we are often asked
Should the alarm be wired or wireless in a self build?
Wired, for every device you can reach with a cable before plastering: no batteries to change and nothing to interfere with the signal. Keep wireless for the shed, a later garden room or a door you add years from now.
Does our electrician need to know anything special?
Only what is on our schedule: the cable type, the route and the end point for every keypad, detector, camera and door entry panel. Alarm cable, Cat6 and ducts are standard materials, so any competent electrician can install them, and we check them before plastering.
Can my cameras record the street?
Try not to. Under the government's guidance on domestic CCTV, cameras that capture people beyond your boundary bring you under data protection law, so point them at your own property and mask out the pavement, the road and next door.
Do I need alarm contacts on the windows?
Contacts on every external door are the usual starting point. Windows are a choice: contacts on the ground floor and basement windows, and on any that can be reached from a flat roof or a balcony, let you set the doors and windows while you are at home. Decide before the windows are ordered.
Will the alarm work with a smart home system?
Often, but check before you choose the panel, because not every alarm connects to every control system. When it does, arming can happen from the lighting keypads or the same app.
Book a consultation or call our head office on 01344 937999 (London office 0208 064 0196).
- Log in to post comments